Back by Popular Demand - DIY Raised Garden Beds!


Click on the image above for Rasied Bed Corners from Gardeners.com


Click on the image above for Aquacorners from Gardeners.com


Many of you have reached out to me about building raised garden beds this summer.  After our seemingly endless winter, the sun is shining today and our temperature should top 60 degrees.  It's really time to start gardening! 

I swear by the method of dense companion planting in raised beds (read Sally Jean Cunningham's Great Garden Companions - it's my "go to" gardening bible).  Planting your crops close together, with herbs and flowers interspersed amongst them, will eliminate the empty spaces where weeds might take root.  And if you line your beds with "hardware cloth" (1/2" wire mesh that you can find at Home Depot or Lowe's), the burrowing critters won't be able to find their way to your crops.  Most importantly, raised beds will save your back when you're tending the garden!

Original raised bed on the right; expansion materials and new bed half completed at center.

Original raised bed on the right; expansion materials and new bed half completed at center.

I've built two types of raised beds and they're both attractive and durable.  The first type - which is less costly, but more labor intensive (perfect for experienced DIY-ers) - was described in detail in an earlier post

The second type uses Raised Bed Corners and In-Line Connectors from Gardener's Supply Company and assembles in minutes. For a 12" high bed, all you need are the 12" raised bed corners and two rows of 2x6 lumber (see photo above of our expansion, half completed, with one row of 2x6 lumber already in place). Size possibilities are endless and you can even create beds that have sections of varying heights. Just make sure to purchase lumber that corresponds to the size of the corners and connectors that you intend to use. Include the in-line connectors if you plan to construct beds that are longer than 8 feet.

I used untreated cedar, but the National Gardening Association says that new ACQ pressure treated lumber is safe for vegetable gardens too.  My local lumberyard, Speonk Lumber, cut the cedar boards for me so that all I needed to do was slip each board into the slots in the raised bed corners and insert a screw to hold it all together.

Once I assembled my garden beds, I combined equal amounts of organic topsoil and compost from my local garden center (ordered for my initial beds by the cubic yard, which is far less expensive than purchasing by the bag), along with some peat, and shoveled everything into the beds.  To figure out how much soil mix I needed, I multiplied together the length, width and height of my bed in feet, and then divided by 27 to obtain the number of cubic yards of soil mix.  For my first beds, which were 18" high and 4' wide by 8' long, I needed (1.5 x 4 x 8) / 27 = 1.8 cubic yards of soil mix.

The only thing I had left to do was add water and seeds.  Providing a regular supply of water to your garden beds is critical.  In my 4' wide beds, I have three parallel lengths of drip hose running down each bed to ensure that every plant in the bed has access to an adequate water supply (see photo).  My irrigation operates on a timer, and I water before sunrise each day to ensure that the water goes directly to my plants' roots and doesn't evaporate in the heat of the day. Gardeners.com sells Aquacorners and DIY drip systems.  Although I didn't use them in my garden beds, they are well-reviewed on the Gardeners.com web site.

Expansion complete!  Soil and irrigation in place...all we need now are seeds and water.

Expansion complete!  Soil and irrigation in place...all we need now are seeds and water.

Rome wasn't built in a day.  But my garden beds were.  If you've been thinking about starting a garden, now's the time.  In the northeast, where I live, it's time to plant peas, lettuces, spinach, radishes and a host of other cool weather crops.  I'll have my hands in the dirt this weekend.  What are you waiting for? 

Leave a Comment!  Tell us about your Raised Garden Beds.

Deconstruction Part II: Time-Lapse Video - The Unmaking of a House

We have completely removed the old house from the site of the Sunset Green Home project. 

Nothing left but the cinder block foundation.

Nothing left but the cinder block foundation.

If you read our earlier blog post, you know that we used whole home deconstruction rather than traditional demolition.  For a typical 2,000 square foot house, demolition sends 127 tons of debris to the landfill.  Deconstruction salvages any reusable building materials and recycles as much as possible.  We’re still awaiting our diversion numbers, but we anticipate that we will have diverted at least 70% of the demolition waste away from the landfill – enough to earn a LEED point for the Sunset Green Home project.

I think of Deconstruction as a perfect example of the “Triple Bottom Line” – which expands the traditional bottom line focus on economic profit to include two additional dimensions – those of environmental benefits and human capital gains. 

  • In Deconstruction, the environmental benefit is obvious.  Deconstruction keeps the vast majority of a building’s materials out of our overstressed landfills. 
  • The economics can work out favorably as well.  Although Deconstruction costs about twice as much as traditional demolition, the salvaged materials are donated to non-profits such as Habitat for Humanity and Build It Green! NYC.   Tax deductibility of the in-kind donation can offset the added cost.  Having an independent third-party appraisal is critical, and you should check with your tax adviser before relying on any outside information (including what you read here…I am not a tax professional!).
  • Finally, Deconstruction builds human capital.  The process is labor intensive and, as such, provides jobs in green building trades. 
The finished product - an empty lot, graded and ready for construction.  Photo courtesy of Chris Mensch

The finished product - an empty lot, graded and ready for construction.  Photo courtesy of Chris Mensch

Deconstruction is not just for whole homes; it’s also a great way to remove kitchens and baths in a home that is slated for renovation.  The salvaged building materials will be given a second life when you’re finished with them!

I’m happy to speak with anyone who would like more information...just fill out the Contact Us form on SunsetGreenHome.com and I’ll get back to you.

We’re very proud of our whole home deconstruction.  And while the house was coming down, we documented the process via time-lapse video, including interviews of the crew from Details who deconstructed the house!  Take a look at the “unmaking” of a house.  Enjoy!

House Tours: A LEED® Gold House in Ski Country

What do you build when you’re a successful commercial real estate developer, you’re ready to build a home for your family, and it’s 2007 – a year when the LEED for Homes green building program is still in its pilot phase?  A LEED for Homes house, of course!

I had the good fortune of touring a “mountain modern” style home just outside Vail, CO this week.  Frank Navarro, the homeowner, explained that when they bought the building lot, he and his wife Allison knew they wanted to build a LEED certified home.  Frank is an architect-turned-sustainable developer, and couldn’t imagine building it any other way. 

Photo courtesy of Frank Navarro

Photo courtesy of Frank Navarro

Frank assembled a team that included a LEED accredited sustainability consultant, an architect who was well-versed in passive solar design, and a builder who, while not experienced with the LEED program, was nonetheless hungry to move his business in the direction of constructing sustainable homes.

What struck me when I entered the house was how quiet it is.  Frank explained that theirs was the first house in its area to use triple pane windows.  Their views of the mountains across a wide valley are exquisite and face south, so large walls of glass were a key design feature.  And triple pane glazing is how the team was able to achieve the insulating properties they needed.  The architect designed deep overhangs to shade the home from summer sun while permitting winter sunlight to enter and warm the house.

Photo taken from inside the home, through one of its large picture windows.

Photo taken from inside the home, through one of its large picture windows.

One of the things I like about the LEED for Homes program is its flexibility in how a project team can accrue points toward certification.  The Navarro home racked up points using sustainable finishes throughout.  Exterior cladding is “beetle kill” pine – a local, sustainable option.  The interior features low VOC cabinetry, plaster, paint and carpet – all of which earn points under the Materials and Resources category.  But most interesting are such details as the beautiful pressed sorghum grass composite bar countertop, local stone fireplace surround with granite banding, poured concrete flooring set in a sustainably harvested wood grid, and recycled glass and concrete bathroom countertops.

The house is extremely energy efficient, with a sizable solar PV array as well as a ground-mount solar thermal system that provides domestic hot water – taking advantage of the 300 days of sunshine that the area enjoys. 

Photo courtesy of Frank Navarro

Photo courtesy of Frank Navarro

When I asked if there were any elements he would have liked to include but didn’t, Frank mentioned rainwater harvesting – which was prohibited by local water rights laws.  Instead, the home uses Xeriscaping – a landscaping method that uses drought-tolerant native vegetation and requires little or no irrigation.

The home is large – 6,300 square feet – which meant that it needed to earn even more points for LEED certification than a comparable house of smaller size.  Nonetheless, the house earned LEED Gold certification, and with no compromise in function or aesthetics.

Frank has his sights on a LEED residential condominium development.  Doubtless, if it’s anything like the home he built for his family, it will be beautiful, functional and sustainable.

The Language of Green...

When I married my husband, I married into a family of doctors.  In the early years, having a meal with them was like being transported to a Martian dining room.  They spoke a language I simply didn’t understand.  But eventually I caught on.  And now, although I don’t recognize every acronym or Latin name that comes up, I feel pretty confident that I get the gist of the conversation. 

So, when I immersed myself in the sustainability world and began studying for my LEED Green Associate exam, I wasn’t surprised to find that I had catapulted myself backwards into the early years of my marriage when I was a traveler in a foreign land trying to understand the conversation. 

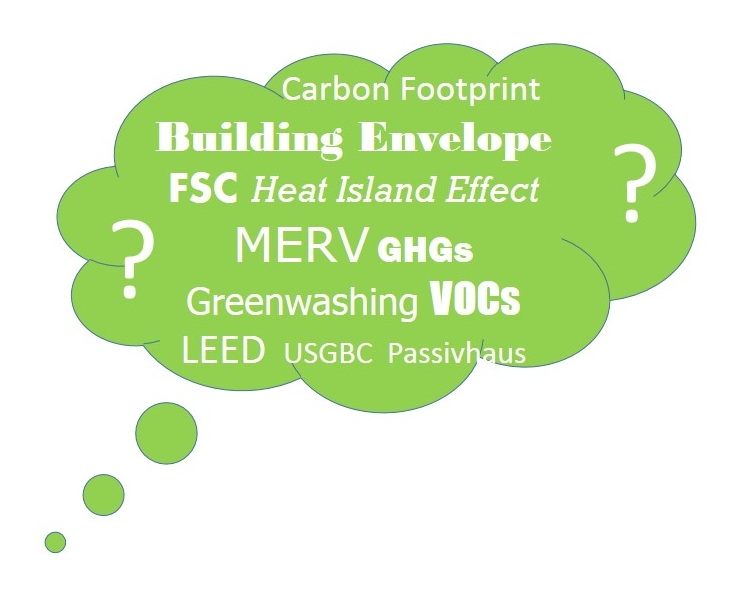
I’ve compiled the following list of important “green” terms and acronyms to help sustainability newcomers get up to speed.  Happy reading!

Building Envelope

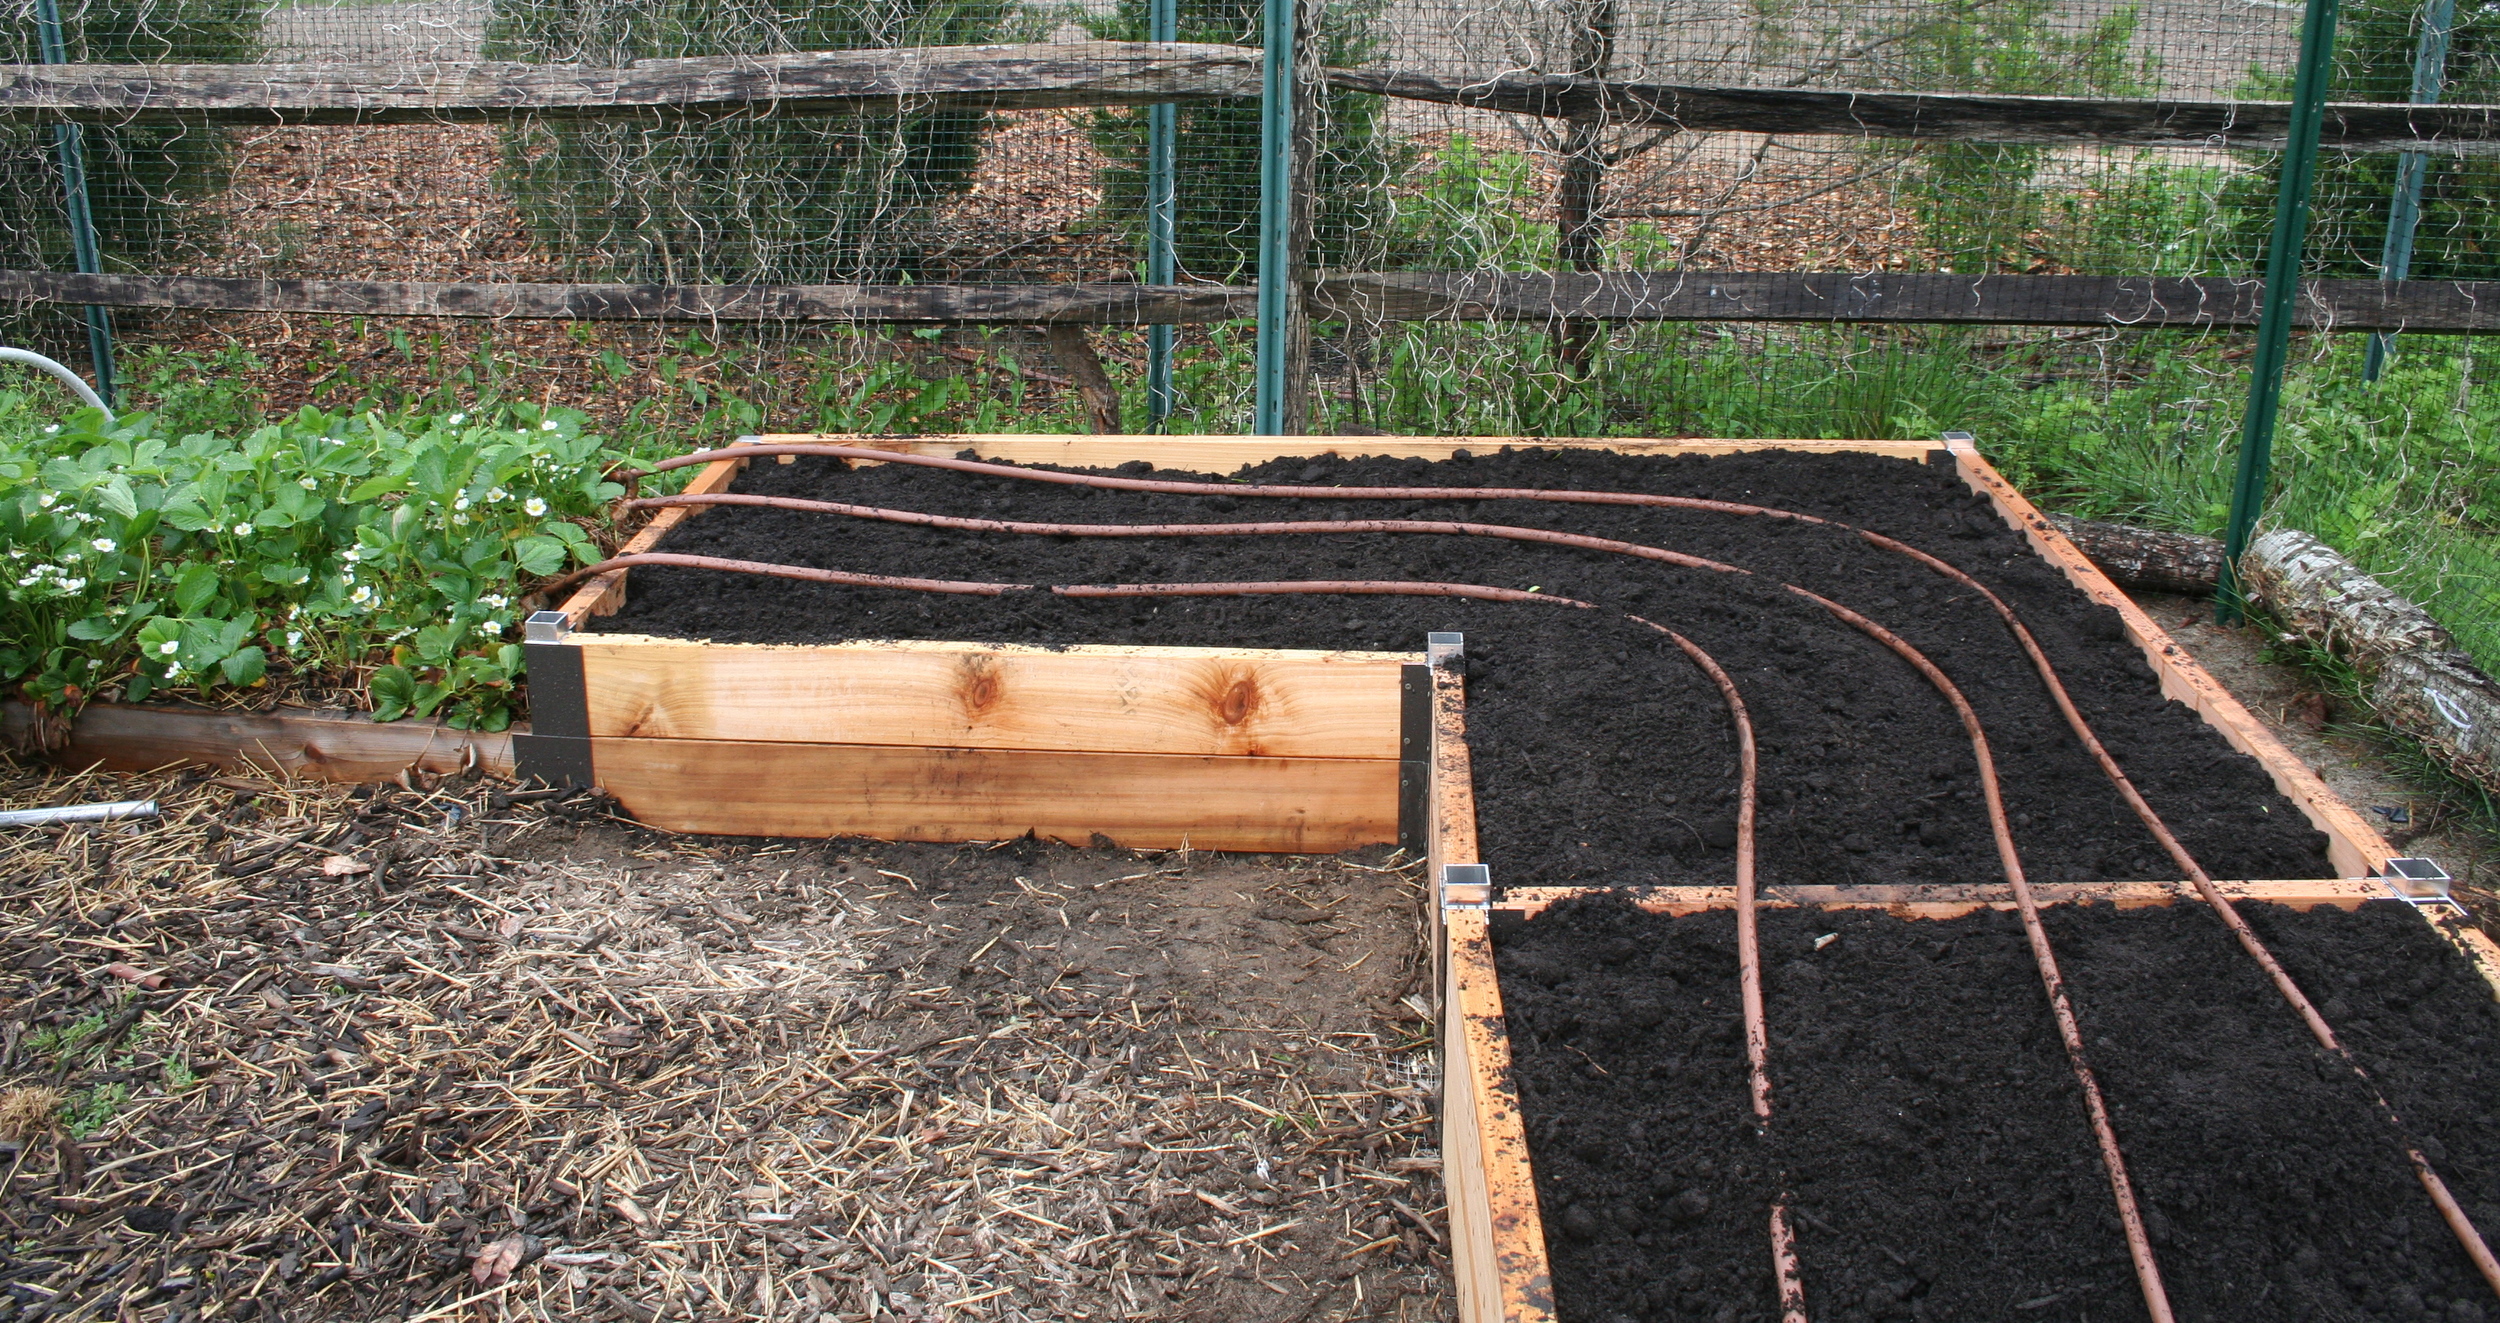
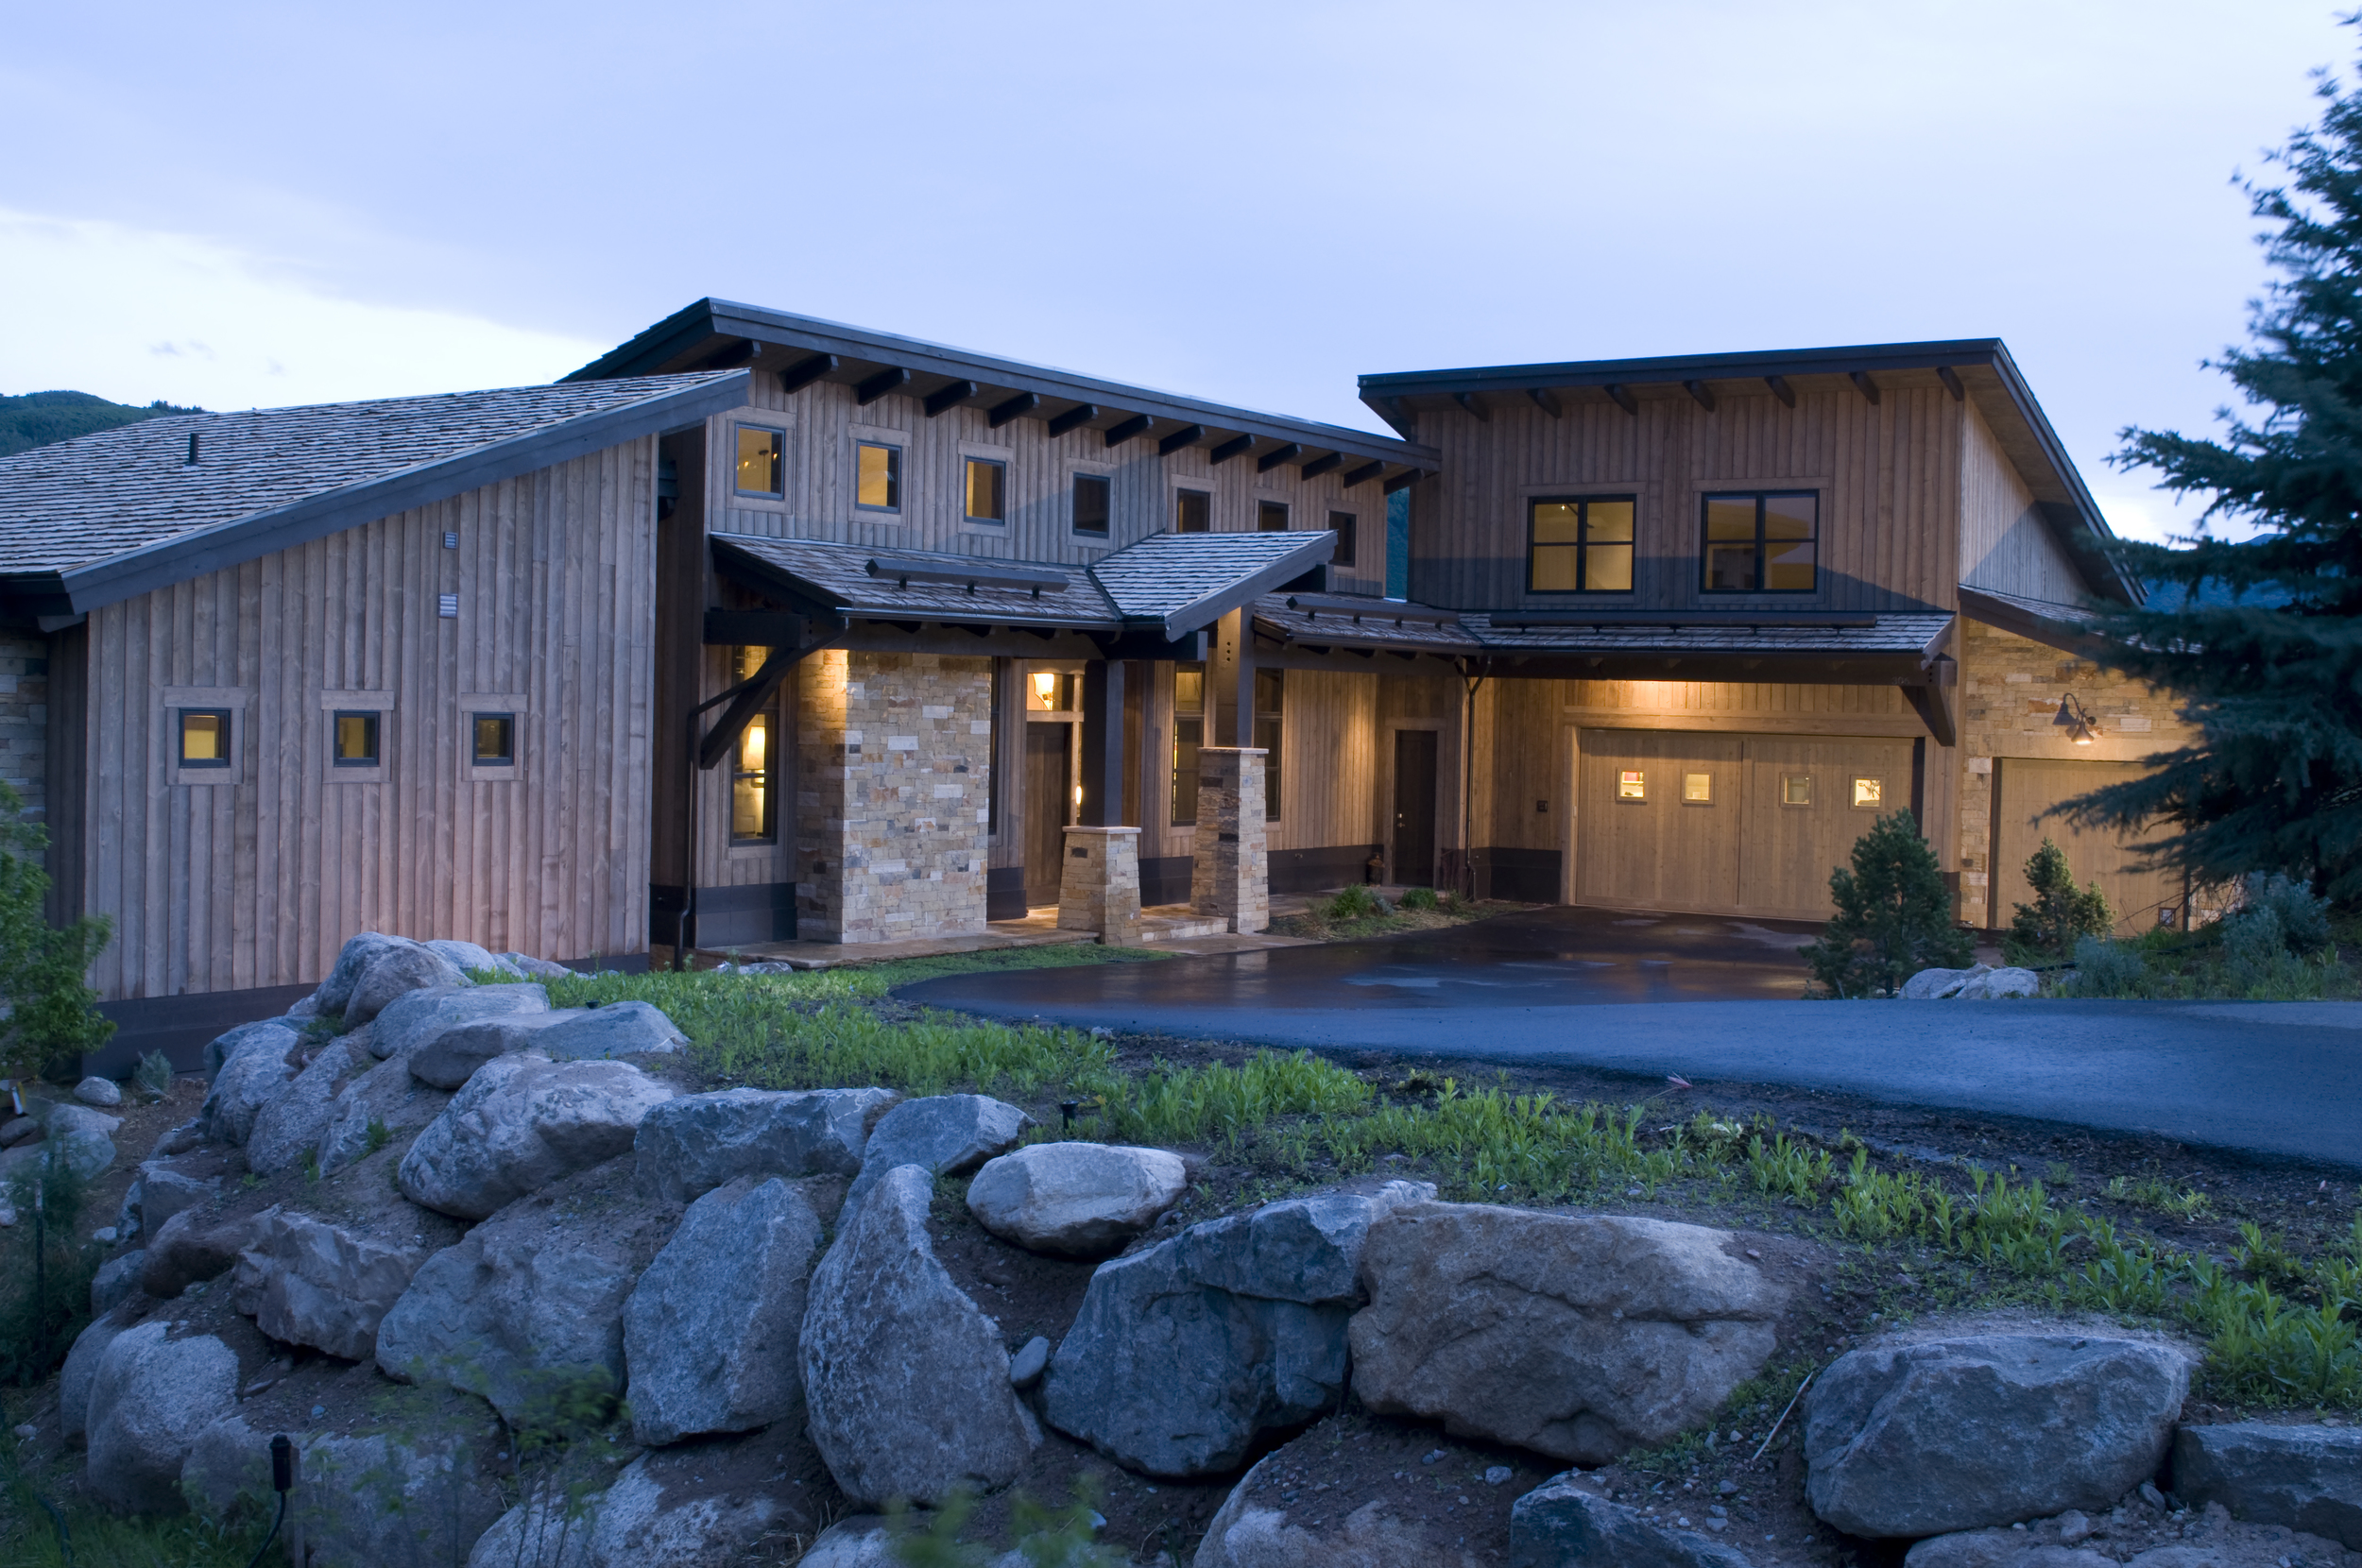
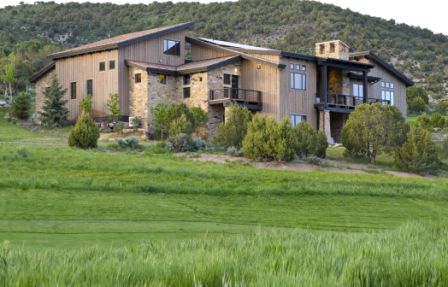
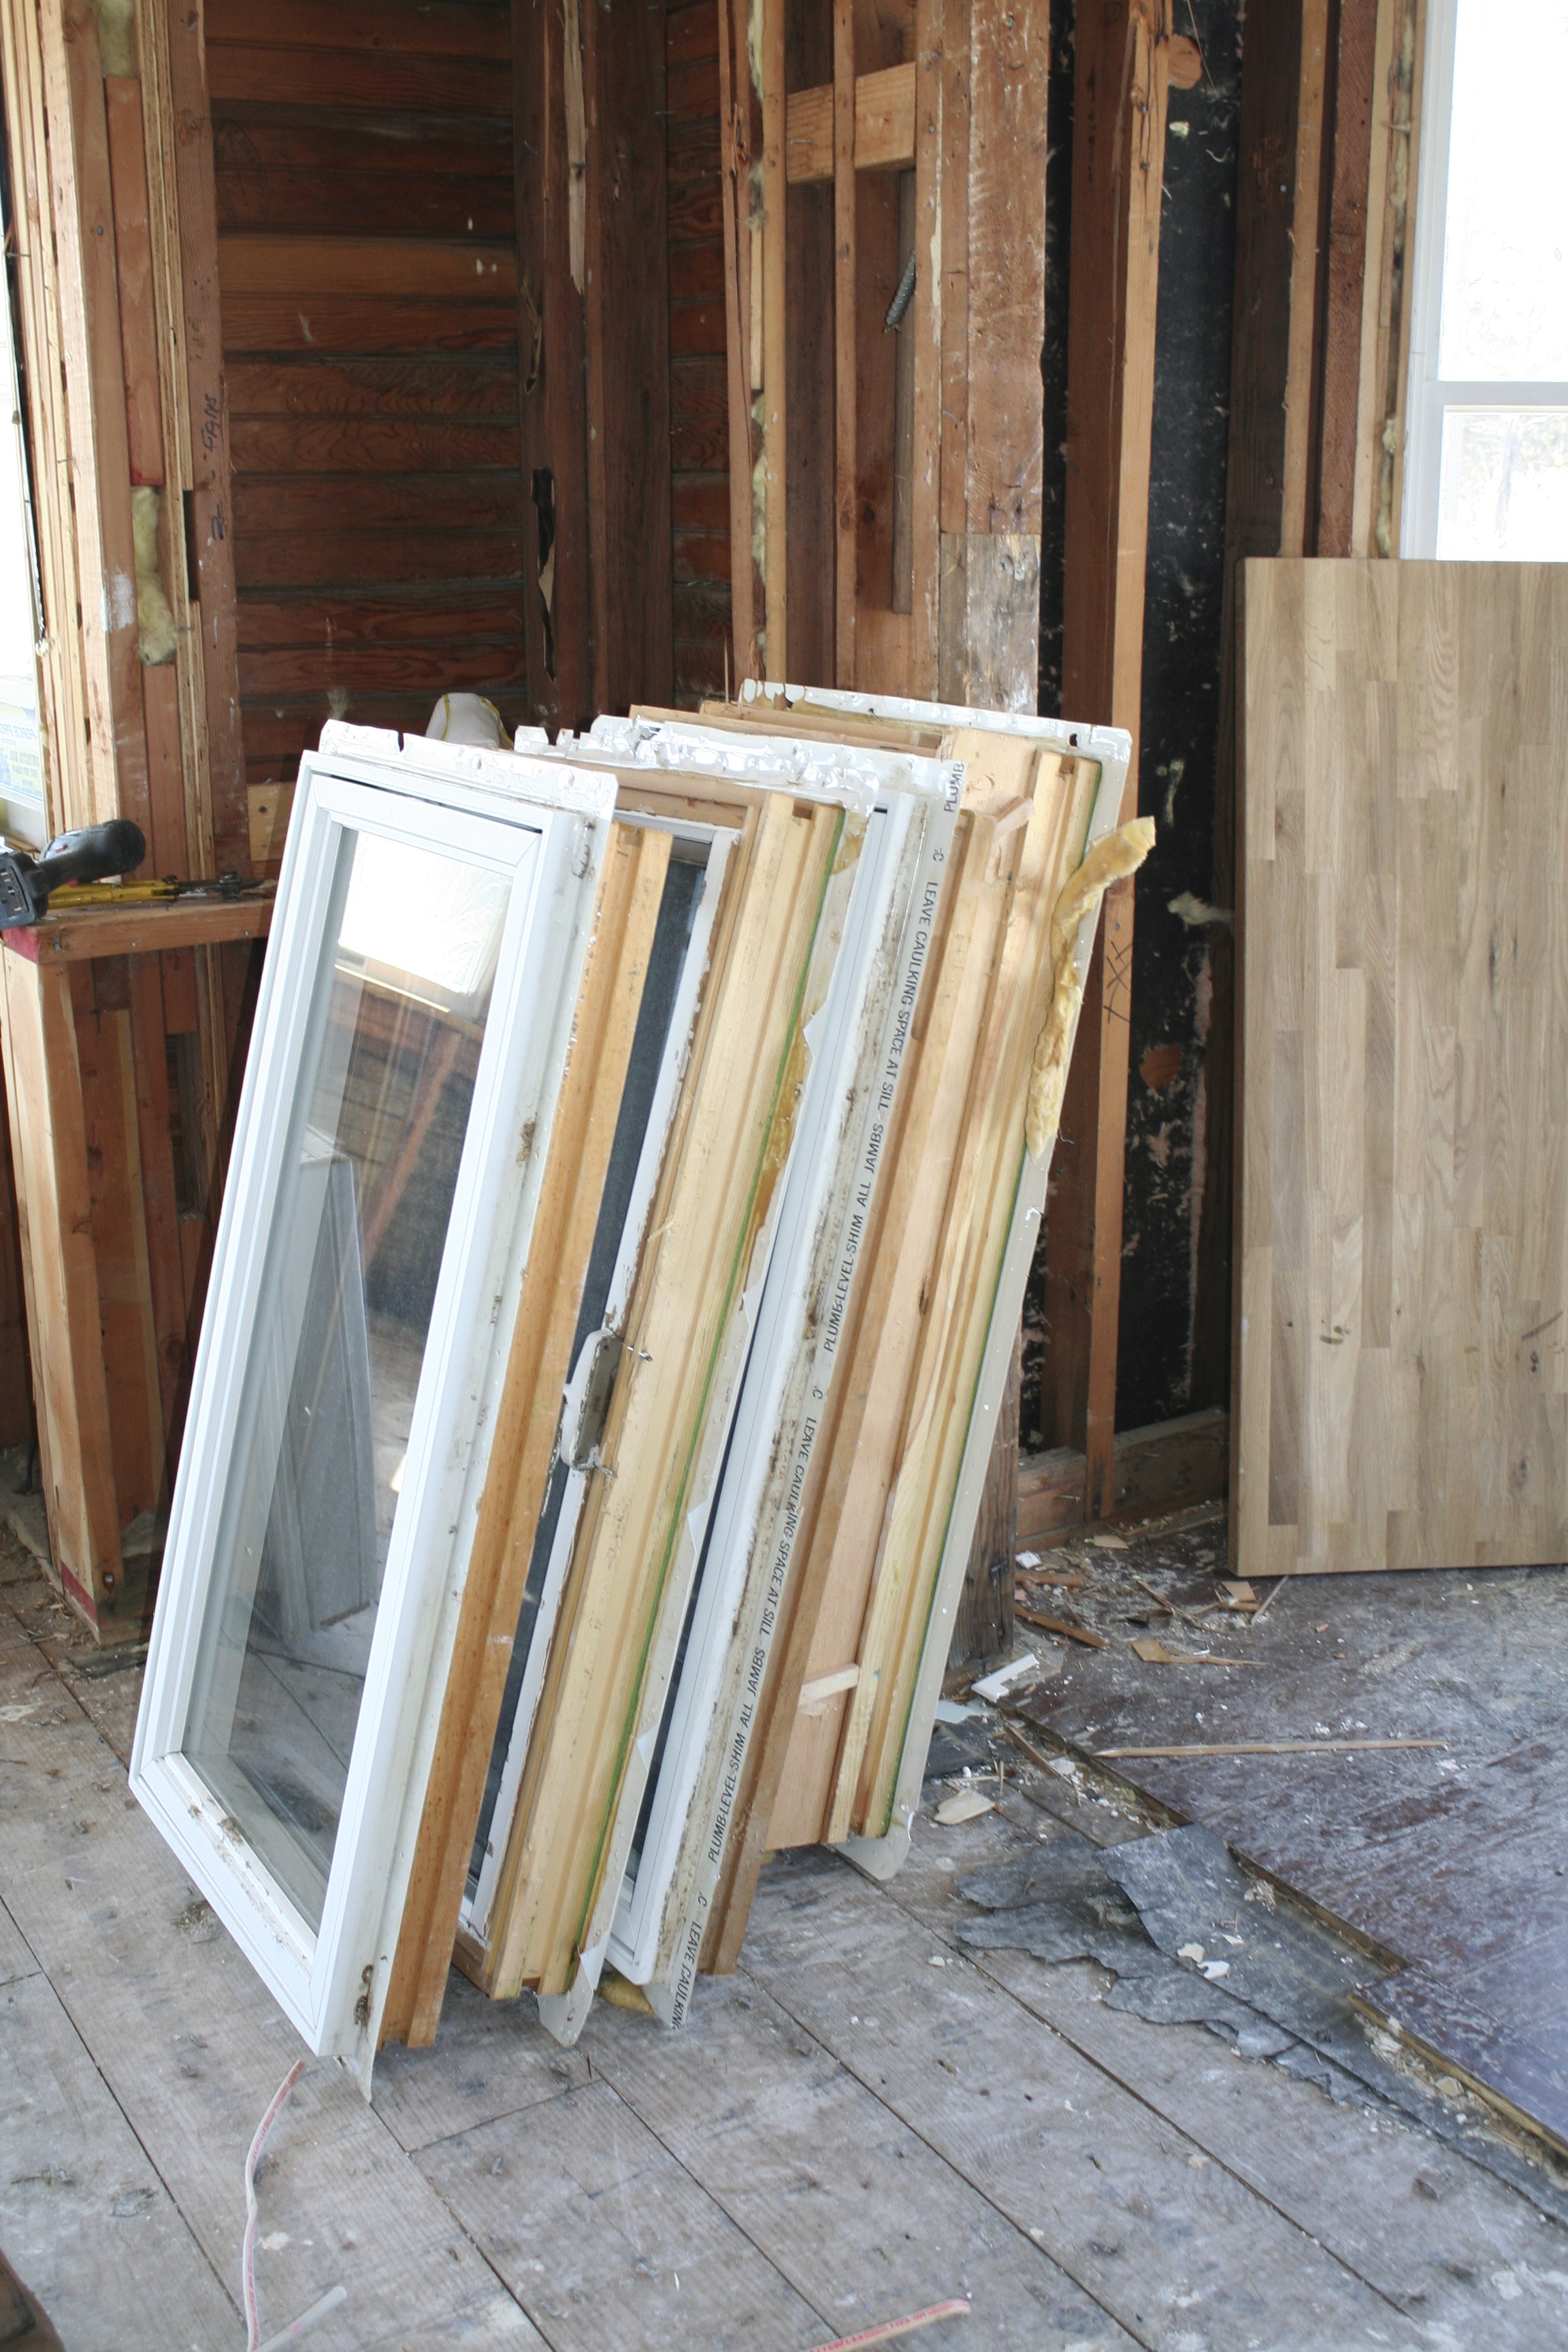
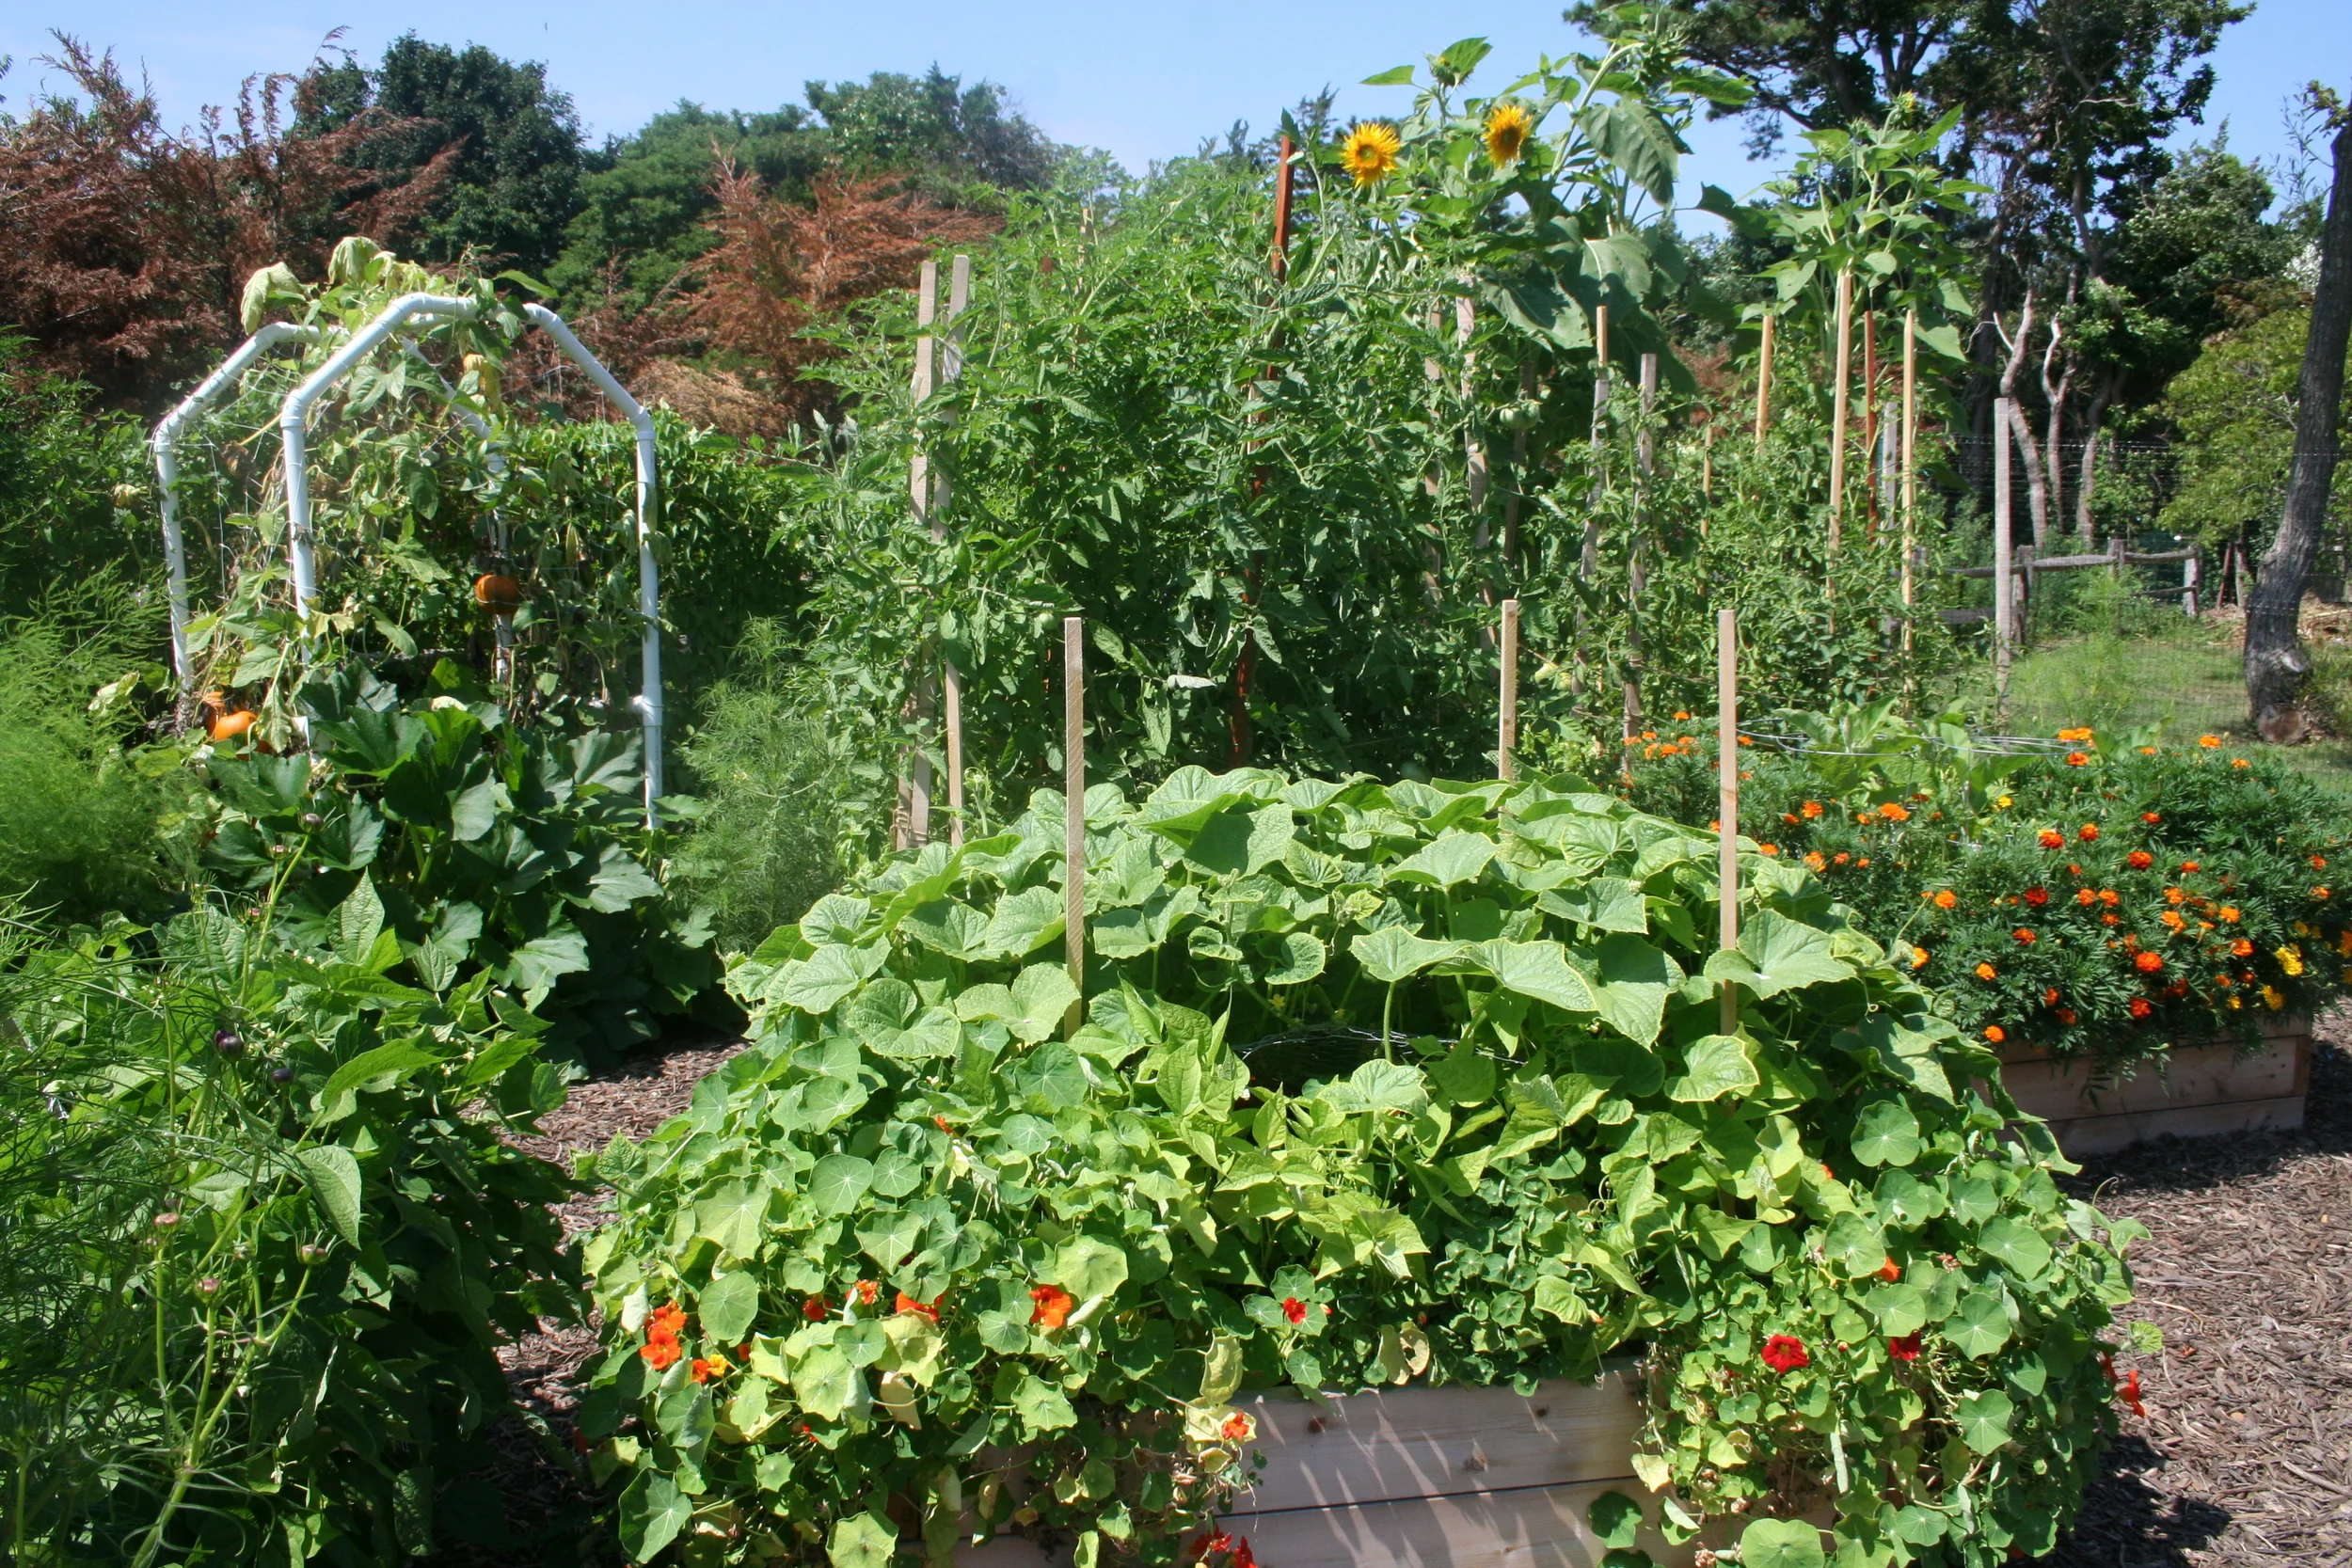
Also referred to as the building shell, the building envelope comprises the exterior of a building, including walls, floors, roof, and windows.  The building envelope is the boundary between the interior conditioned spaces of a structure and the outdoors.  The most energy efficient buildings start with very tight building envelopes, which result from advanced framing techniques, high efficiency windows (with, for example, insulating argon gas between panes and low emissivity – low-E – coatings to reduce solar heat gain), and comprehensive insulation that eliminates gaps that air and moisture might infiltrate.  In the Sunset Green Home, spray foam insulation and very efficient windows are two of the strategies that will improve the tightness of our building envelope and result in greater overall energy efficiency for the project.

Resources: http://gbssmag.com/2012/08/starting-with-a-tight-building-envelope-to-reduce-first-costs/

Carbon Footprint

A carbon footprint is the extent of the impact of our activities on our climate, measured in terms of Greenhouse Gases (typically carbon dioxide, but also including methane and others).  A comprehensive calculation of carbon footprint would include the impact of manufacturing, shipping, storage, use and disposal.  This Wall Street Journal article calculates the carbon footprint of some basic household items.  It’s eye-opening!  Among other strategies, the Sunset Green Home project will use Energy Star appliances, generate electricity through solar photovoltaics and specify building materials sourced regionally in order to minimize our carbon footprint.

Resources: http://www.nature.org/greenliving/carboncalculator/

FSC

The Forest Stewardship Council’s mission is to “promote environmentally sound, socially beneficial and economically prosperous management of the world’s forests” and it has developed a certification program that “ensures that products [labeled as FSC certified] come from responsibly managed forests that provide environmental, social and economic benefits.”  The LEED for Homes program states a preference for using FSC certified wood products, and has a prerequisite that any tropical hardwoods used in a project must be FSC-certified. 

Resources: https://us.fsc.org/

Greenhouse Gases (GHG)

Greenhouse gases – such as carbon dioxide, methane and nitrous oxide – trap heat in our earth’s atmosphere.  According to the Environmental Protection Agency (EPA), they “absorb energy, slowing or preventing the loss of heat to space.  In this way, GHGs act like a blanket, making Earth warmer than it would otherwise be.”  In recent years, human activity – primarily the burning of fossil fuels – has been the primary source of a rapid and significant rise in the emission of greenhouse gases into our atmosphere.  By generating most of its electricity through clean renewable solar photovoltaics, the Sunset Green Home will minimize its use of fossil fuels and, consequently, its generation of GHGs.

Resources: http://www.epa.gov/climatechange/science/causes.html

Greenwashing

Greenwashing refers to the practice of using misinformation to promote the notion that a company, product or service is environmentally friendly.  Think of a hotel that touts itself as “green” because it offers guests the opportunity to reuse their sheets and towels, but doesn’t take any additional steps to become more environmentally friendly (such as installing energy-efficient lighting, drought-tolerant landscaping, or storm water runoff controls).

Resources: http://en.wikipedia.org/wiki/Greenwashing and http://www.greenwashingindex.com/

Heat Island Effect

Have you ever noticed that it’s warmer at night in a city than in the countryside?  That’s an example of the heat island effect – where hardscapes (buildings, pavement, etc.) absorb the sun’s heat and then radiate it to surrounding areas.  The heat island effect results in a greater need for cooling technologies, which are responsible for higher energy costs, increased greenhouse gas emissions, and increased air pollution.  Using light colored pavement or green roofs (which are becoming increasingly popular in urban areas) are two strategies for reducing heat island effects.  The Sunset Green Home project will reduce the heat island effect of the home by foregoing asphalt in favor of a light colored pervious stone driveway.

Resources: http://www.epa.gov/heatisland/

MERV

MERV, or Minimum Efficiency Reporting Value, refers to the efficiency of air filters in the mechanical systems (heat and air conditioning) of a building.  MERV ratings range from a low of 1 (very low efficiency) to a high of 16 (very high efficiency).  With today’s very tight building envelopes, indoor air quality has become a concern.  Using high MERV filters increases the filtration of harmful particles out of the air we breathe indoors.  Specifying high MERV filters is a relatively inexpensive way to improve indoor environmental quality.  The Sunset Green Home project will use very high MERV filters in its HVAC systems.

VOCs

Volatile Organic Compounds are carbon-based chemicals that evaporate at room temperature.  Examples include acetone, formaldehyde, benzene and others.  Many of the products in our homes have the potential to “off-gas” VOCs, and VOC concentrations indoors are typically 2x – 5x higher than outdoors.  Health effects are based on the level of VOC concentration and the exposure time, and may include headaches, upper respiratory symptoms and eye irritation or, with long-term exposure to high levels, increased risk of cancer or central nervous system damage.  Although we often think of VOCs as smelling bad (think of a freshly painted wall), not all VOCs create an odor.  But, in today’s well-insulated and tightly sealed homes, VOCs can build up quickly and to high levels.  The Sunset Green Home project will include low-VOC or no-VOC paints, adhesives, finishes and furnishings wherever possible, and we will “flush” the home with fresh air for several days before we take occupancy.

Resources: http://www.health.state.mn.us/divs/eh/indoorair/voc/ and https://www.health.ny.gov/environmental/indoors/voc.htm

And now that we’ve provided some “green” terms, what about LEED?  What is all this “LEED” stuff about anyway?

LEED

LEED stands for Leadership in Energy and Environmental Design.  According to the U.S. Green Building Council, LEED “is a green building certification program that recognizes best-in-class building strategies and practices.”  LEED is a flexible rating system that can be used to certify buildings ranging from single family homes to commercial office buildings.  There’s even a LEED rating system to certify the operations and maintenance of existing buildings.  Each LEED rating system has its own prerequisites and optional credits for obtaining certification levels of Certified, Silver, Gold or Platinum.  The Sunset Green Home is registered under the LEED for Homes green building program and will seek Platinum certification – the highest level – upon completion.

Resources: http://www.usgbc.org/leed

LEED Accreditation vs. LEED Certification

Simply put, BUILDINGS are certified and PEOPLE are accredited.  LEED certification is described above.  LEED accreditation recognizes individual levels of understanding and experience with green building.  There are three levels of LEED accreditation: LEED Green Associate, LEED Accredited Professional (LEED AP) and LEED Fellow.  Credentialing is overseen by the Green Building Certification Institute (GBCI), which also oversees LEED project certification.

Resources: http://www.usgbc.org/leed/credentials

USGBC

According to its web site, the U.S. Green Building Council (USGBC) “is a 501(c)(3) nonprofit organization committed to a prosperous and sustainable future for our nation through cost-efficient and energy-saving green buildings.  USGBC works toward its mission of market transformation through its LEED green building program, robust educational offerings, a nationwide network of chapters and affiliates, the annual Greenbuild International Conference & Expo, and advocacy in support of public policy that encourages and enables green buildings and communities.”

Resources: http://www.usgbc.org/

Passivhaus or “Passive House”

LEED isn’t the only green building standard.  In fact there are several.  Developed in the early 1990s, the Passivhaus standard is one of the world’s leading green building standards.  Passivhaus is based on the principle of creating an exceptionally tight and well-insulated building envelope with mechanical ventilation to cut down on – or eliminate altogether – the need for conventional forms of heating and cooling.

Resources: http://www.passivehouse.us/passiveHouse/PassiveHouseInfo.html and http://passiv.de/en/index.php

Now that you know green, go green!


LEED for Homes Says to Grow Green. We Agree!

A food garden – and a LEED point – for the Sunset Green Home.  That’s a point we wouldn’t consider leaving “on the table.”  According to the LEED for Homes green building program, the intent of the Food Garden credit is “to provide a functional and sustainable means of supporting the homeowner’s food needs.” LEED for Homes awards one point under the Innovation in Design credit category to projects that install a garden of at least 200 square feet. 

Sunset Green Home Raised Bed Garden.JPG

I’m an avid gardener.  And my garden has been organic since we built it shortly after purchasing our home.  We constructed several untreated cedar raised beds (see my earlier blog post to learn how to build your own) and began gardening right away.  My garden, with 12 distinct planting areas (four of which are occupied by perennial asparagus and strawberry crops), tops out at about 200 square feet of productive, easy-to-access raised planting beds. 

Sally Jean Cunningham’s Great Garden Companions has been my gardening bible since Day One – and I’ve given away countless copies of it to friends and family.  With beautiful photographs and useful graphics, Great Garden Companions offers a blueprint for setting up and managing a pesticide-free organic garden. 

What’s the secret?  Planting “neighborhoods” of vegetables, herbs and flowers that either attract beneficial insects or deter and confuse the more harmful insects (the herbs and flowers do double duty by crowding out unwanted weeds as well). Coupled with annual crop rotation (which was my “excuse” for adding more beds during my garden’s second year), the companion planting method has worked well for me. 

Sunset Green Home Garden.JPG

Until Hurricane Sandy walloped my garden, I was able to grow nearly all of the produce to feed my family of five from May until October – with an abundance of “extras” that I turn into pickles, chutneys, ketchup and sauce that we can eat through the winter. 

Sunset Green Home Garden - Cabbages and Herbs.JPG

We have asparagus, lettuce, spinach and radishes in May and June; peas and strawberries in early summer; onions, cucumbers and beans throughout the summer; carrots, tomatoes, squash and peppers in late summer…and so much more that I don’t have space to list! 

Sunset Green Home Garden Beets.JPG

We even eat nasturtiums and make chamomile tea from our companion flowers!

Sunset Green Home Garden Nasturtiums.JPG

No fossil fuels are burned to move the food from my garden to my kitchen.  And I know exactly what has gone into producing what we eat – sunshine, water, homemade compost and organic seeds!

That’s what the LEED green building program had in mind when it approved a credit for building a food garden.  And when we move our garden beds to higher ground once the Sunset Green Home is built, we plan to earn the food garden point!

Gardening is easy and healthful.  And you don’t need to build a LEED home to start a garden.  So what are you waiting for?  Find a sunny spot, build a garden bed, and grow local.  Happy gardening!

Leave a comment!  Tell us your best gardening story, or let us know about a special variety that you plant in your own garden...

Benchmarking: First, Know Your Impact - Then Change It!

Green: (ɡriːn) – adj. Concerned with or relating to conservation of the world’s natural resources and improvement of the environment. (Source: World English Dictionary).

We hear a lot of talk about "going green."  So, what does it mean to be green, anyway?  Broadly speaking, “green” relates to stewardship of the environment.  That’s pretty wide-ranging…which suggests there are a lot of ways that we can “go green.” 

But before we can make changes, we need to understand our impact on the environment.  That's why the LEED for Homes program rewards projects that either install advanced energy monitoring systems to track energy and water use, or enroll in the USGBC's Building Performance Partnership for all of its utility accounts.  The Sunset Green home project is planning to capture a point toward certification this way.

You, too, can easily track the impact of your activities on the health of our environment.  And once you're armed with information, you may even want to take action to reduce your "footprint."  Here are a few ideas...

Image courtesy of digitalart/ FreeDigitalPhotos.net

Image courtesy of digitalart/ FreeDigitalPhotos.net

1.       Arm yourself with information about your home’s energy use.  Sign up with wegowise to track your use of water, electricity, oil and gas.  Wegowise’s free wegoHome service will allow you, over time, to track your utility usage, analyze your consumption, and measure the results of any upgrades you put into place.  The sooner you start, the sooner you’ll have useful information to act upon.  Get your kids involved...make learning about and lowering your energy consumption a family project.  

2.       Know your carbon footprint and erase it.  The Nature Conservancy has a comprehensive calculator and a way to donate to the organization to support its carbon offsetting projects. 

3.       Erase your carbon footprint when you travel.  Check out Trip Zero, a new travel service that calculates your carbon footprint every time you travel, and automatically offsets it when you use the site to book your hotel. The best part about it?  It’s free.  Trip Zero promises that you won’t pay more for the hotel room than if you booked through another travel service.  For the science nerds among us, Trip Zero also provides a nifty explanation of how a carbon footprint is calculated.

4.       Erase your carbon footprint when you drive.  We can’t all trade our cars in for hybrids or electric vehicles.  But we CAN offset our impact on the environment by calculating the carbon emissions of our cars and funding projects that offset our impact on the environment.  TerraPass has a calculator and a subscription service that makes it easy for you to erase the impact of your driving. 

These are only a few (out of many!) ways that you can better understand - and take action to reduce - your environmental impact.  Another source of information is the Carbonfund.org Foundation web site, which has a page devoted to strategies for reducing your carbon footprint.

The more you know, the more you can do.  Arm yourself!

Deconstruction 101: It’s all in the Details

If breaking ground on the Sunset Green Home project is considered “getting out of the starting gate” then removing the house that was substantially damaged by Hurricane Sandy is akin to getting into the starting gate.  And we’re almost there…

Sunset Green Home Under Deconstruction.jpg

Today was Day Four of our Whole House Deconstruction effort, and the house is about halfway down.  So what is deconstruction and why are we doing it?  Deconstruction is NOT demolition.  A typical demolition job would take a fraction of the time that is required for deconstruction, and would cost about half as much.  But 100% of the house would be bulldozed and dumped into a landfill. 

By contrast, whole house deconstruction refers to the careful dismantling of a structure to preserve materials that can be reused elsewhere and to recycle materials that cannot be reused in their current form.  Deconstruction is done by hand.  Workers trained in deconstruction strip the inside of the house, salvaging any fixtures, fittings and materials that can be reused, and setting them aside to be donated to non-profits such as Habitat for Humanity or Build It Green! NYC.

Once the inside of the house has been disassembled, the house is taken apart shingle-by-shingle and stud-by-stud from the roof to the foundation.  Again, any materials that can be salvaged – such as windows and flooring – are carefully removed and earmarked for donation.  Whatever can’t be salvaged is taken by a waste hauler who is focused on recycling and is able to divert a significant portion of the waste away from the landfill.

Details Deconstruction Removing Sunset Green Home Windows.JPG

The Sunset Green home is being deconstructed by Details, a division of Humanim, a Baltimore-based non-profit organization whose mission includes workforce development programs.  Details teaches green building practices and provides entry level employment to members of its crews. 

Details Deconstruction Crew at Sunset Green Home.JPG

And in fulfilling its mission, Details keeps thousands of tons of waste from entering our nation’s over-stressed landfills (one estimate by the Deconstruction Institute, funded by the Florida Department of Environmental Protection, estimates a 2,000 square foot house would, if demolished, generate 127 tons of debris). 

The Sunset Green Home project hopes to earn one point toward LEED certification by diverting over 70% of our demolition waste through the deconstruction process.

Our crew is hard at work deconstructing the house on the Sunset Green Home site.  Like I said, it's all in the Details...

Details Deconstruction Team at Sunset Green Home.JPG

Preliminary Rating: We're Going for Platinum!

The Sunset Green Home project is registered under the LEED for Homes green building program, and we're going for Platinum!  If you're interested in learning more about the LEED process, read on...

15 months ago, Hurricane Sandy substantially damaged our home, which stood on the site where the Sunset Green Home will be built.  For the past several months, members of the project team have been working together to design the new house.  We’ve tapped into the expertise of our architect, landscape architect, builder, and other experts in sustainable building practices in what is termed an Integrated Project Planning approach. 

Team members: Architect, Bill Heine: LEED AP Homes, Kathryn Cannon; LEED Green Rater, Rich Manning; and Builder, Chris Mensch

Team members: Architect, Bill Heine: LEED AP Homes, Kathryn Cannon; LEED Green Rater, Rich Manning; and Builder, Chris Mensch

Earlier this month, at our second LEED Design Charrette meeting, the team met to focus on systems and infrastructure considerations, as a previous Design Charrette meeting had addressed site planning, building orientation and landscaping issues.

With most of our “big decisions” behind us, it was time to discuss our Preliminary Rating, or LEED certification level we would seek.  Conducting a Preliminary Rating is a prerequisite of the LEED for Homes green building program.  And it’s the first of three prerequisites in the Innovation in Design Process category.  A project that seeks LEED certification must satisfy 25 prerequisites, after which it may choose which of the 136 optional points it will aim to earn from eight major categories. 

Each project is different, which is why the LEED for Homes program provides a number of paths to certification.  Unlike other LEED rating systems, which have a fixed scale for certification, LEED for Homes makes a home size adjustment; larger homes must earn more points at each certification level than smaller homes.  Based on the Sunset Green Home project’s conditioned area of just under 3,600 square feet, we must earn 94 points for LEED Platinum certification.  It’s ambitious, but we’ve decided to go for it!

Check out our LEED points page, which we’ll update periodically as we finalize our strategies and point targets.

Grow Green! Start with Raised Planting Beds

Some sustainable practices are easily incorporated into your life and will bear fruit right away.  Pun intended!  It’s cold and snowy here in NYC, but I’m already thinking about the inevitable arrival of spring…and for me that means gardening.

Sunset Green Home garden in midsummer bloom.

Sunset Green Home garden in midsummer bloom.

Raised bed gardening is an easy, space efficient, and healthful way to go green.  By growing your food yourself, you'll know that you aren't ingesting any harmful pesticides and that no fossil fuels were burned to get the food to your doorstep.  And growing your own produce also contributes to biodiversity; you can pick from the many heirloom varieties that cannot be grown by commercial growers whose crops are often limited to ones that have been engineered to hold up to handling and transportation.  If that’s not enough to convince you, just wait until you taste a fresh asparagus spear straight out of the ground – it’s better than the best you’ll find in your local grocery store!

Now that you’re convinced, how can you make your garden a reality? 

Building Sunset Green Home Garden Beds.JPG
Raised Garden Bed Under Construction.JPG
Raised Bed Garden Under Consruction.JPG

To build our raised garden beds, we used untreated cedar for its natural pest-resistant properties (redwood would have been fine, too). Consider using wood that has been certified by the Forest Stewardship Council (FSC), which has been sustainably grown and harvested.  There’s been a lot of debate about using untreated vs. pressure treated wood for garden beds. Pressure treated wood will last longer than untreated wood, but doesn’t meet organic gardening standards. However, the National Gardening Association says that new ACQ pressure treated lumber is safe to use for garden beds.

Sunset.com has a great tutorial on building raised garden beds.  We used their plans with a couple of modifications to build our first 18” high raised beds (most notably, Sunset's plans are for 12" high beds; we added a row of 2 x 6 boards to increase the height). They’re beautiful and have withstood the test of time.  Working together with my father and my sons, we were able to build and install three 4 x 8 foot beds in one day (it helped that the lumber yard pre-cut the boards to the lengths we needed). 

For clients and friends (and for my own garden expansion), I have relied on raised bed corners and connectors from Gardeners.com to assemble raised beds in a jiffy. 

Regardless of which design you choose for the boxes, make sure you incorporate these elements into your plan:

1.       Keep your beds to a maximum of four feet wide.  Three to four feet is ideal.  It’s hard to reach the produce in the middle of a bed that is more than four feet wide without stepping on or leaning into the soil and causing it to become compacted. 

2.       Lay down ¼” metal mesh Hardware Cloth in the bottom of your planting boxes to prevent tunneling pests (moles come to mind!) from reaching your produce

3.       Staple Landscape Fabric to the inside faces (but not the bottom!) of your planters to keep your soil from leaking through the cracks between your boards when you water, and to protect the wood from excess moisture

4.       Install drip irrigation on a timer with a separate manual cut off valve if you have multiple beds.  Some fruits – notably watermelons – don’t want to be watered at all once their fruit has set…but you may not want to set up separate watering zones for each bed.  A manual cut off will easily solve the problem.

5.       Once you have prepared your beds, fill them with a good quality mix of organic topsoil, compost and peat. 

In my Plant Hardiness Zone, I can start planting some of my early crops as soon as next month.  SproutRobot has a neat tool for determining when you can start planting outdoors where you live.  Make sure you get your raised beds built in time to be ready to start planting.  And bookmark my Garden Journal so you can check back throughout the spring as I add tips for crop selection and low maintenance growing.

Happy gardening!

Worthwhile Reading: Technology and Information Management for Low Carbon Building

As I launched my home construction project and began preparing for my LEED Green Associate exam, I read countless books and articles, attended trade shows, and met with as many green building professionals as I could.  Through networking, I was introduced to Frank and Roy Dalene, brothers and partners at Telemark Inc., a luxury custom home builder on Long Island.  Frank and Roy spent quite a bit of time with me, and gave me both information and encouragement.  Frank also directed me to an article he had written, which I found did a great job of bringing to life - through a single project example - many of the strategies I had been reading about.

HGA House under construction

HGA House under construction

In his article, Technology and Information Management for Low Carbon Building, which was published in the American Institute of Physics, Journal of Renewable and Sustainable Energy in July 2012, Frank Dalene describes the "how" of a LEED Platinum certified luxury custom home he built for a Long Island family, whose house had been damaged in a fire.  The project was sponsored by the Hamptons Green Alliance, a non-profit association of green building professionals, and was called the HGA House.   

Among other topics, the article covers:

  • How the home's energy consumption was reduced by 70% and its CO2 emissions by 40%
  • How its embodied greenhouse gas emissions were measured and managed, and how its carbon neutrality was certified
  • How the project achieved LEED Platinum certification

Although the article appeared in a peer-reviewed academic journal, it is highly readable and provides food for thought for anyone who is interested in building a sustainable, energy efficient home.  

Happy reading!

Salt the Sidewalks?

It’s snowing again!

The 50+ degree weather of the Super Bowl was a one-day gift to Sea Hawks fans, Broncos fans and everyone in the New York City area.  But now we’re back to this winter’s “normal.”  With over 34” of snow so far this winter, NYC already has a significant surplus versus average annual accumulation at this point in the season.  And between this storm and the one that is predicted to hit over the weekend, we could be looking at another six to eight inches.

IMG_20140205_093913_417.jpg

So what’s a New Yorker to do?  Salt the sidewalks, that’s what!

My dog and other NYC canines would definitely say no!  My dog isn't one of those overly pampered pets.  She doesn't wear sweaters or raincoats or jackets.  Her fur coat seems just fine for warmth.  But every time it snows, I painstakingly insert her four little paws into rubber balloon-like booties for the sole purpose of protecting her feet from chemical salts.  Those little white pellets that cause the snow to melt can also cause chemical burns on our pets’ feet.  I roll up a newspaper and bop myself on the nose every time my dog limps through a patch of chemical salt because I forgot to put her booties on.

If chemical salts can cause such harm to my pet’s paws, what are they doing to the environment?  And are there any reasonable alternatives?  It turns out that there is no holy grail for sidewalk deicing.  Road Salt is the least expensive option, and is generally used, as you’d imagine, on roads.  Its large crystals and ability to lower the freezing point of water, make it the most popular municipal deicer.  But it has the potential to make trouble for plants, animals and humans (through its effect on the water supply).  Alternative products exist, and in New York City we often see little white pellets of Calcium Chloride (the culprit with respect to our dogs’ paws) – but Calcium Chloride is costly, may cause skin irritation, is corrosive to concrete and metal, and can damage carpets if tracked indoors. Magnesium Chloride is the least environmentally harmful of the chemical salts, but it, too, is corrosive to metal and is a more expensive option.  “Natural” products, like sand and sawdust, won’t melt the ice, but do have their place as anti-slip agents.  

Perhaps, instead of using pounds of chemicals, we should think about using an ounce of prevention.  Why not try to keep the sidewalks free of ice buildup during the storm so that you don't need to use deicing products at all?  I spoke with my building's superintendent this morning as he was using a wire brush to clear the freshly shoveled sidewalks; he says that our building tries not to use any deicers.

So here are some practical tips for dealing with icy sidewalks:

1.  Keep the sidewalks clear during the storm.  Doing so may eliminate the need for deicing chemicals. 

2.  If you must use a deicer, apply it with a mechanical spreader.  You’ll use less deicing product while spreading it out more evenly.

3.  Include an equal part of sand in your deicing mix (this is a sensible suggestion by the NYC Landmarks Commission).  It’ll give your sidewalk some traction without harming the environment.

4.  Clean up the salt and deicing pellets that remain on the ground when the snow is gone.  Sweep them up and dispose of them properly to reduce the likelihood that they end up in our water supply.

Our environment will thank you…and so will our dogs!


Welcome!

Welcome to the Sunset Green Home project!  Our team has been hard at work planning this project for more than a year now, ever since Hurricane Sandy barreled across coastal New York and New Jersey, leaving a path of destruction in its wake.  The Sunset Green Home project is replacing a home on Long Island that was "Substantially Damaged" and rendered uninhabitable by the storm with a sustainable, more resilient, energy efficient house that will, at its completion, seek LEED Platinum certification under the USGBC's LEED for Homes program.

Sunset Green Home Architect's Rendering (W. Heine, 2014)

Sunset Green Home Architect's Rendering (W. Heine, 2014)

Over the course of the coming months, I’ll be writing about the construction of the house, the products and materials that are going into it, and the process of LEED certification.  I’ll also be blogging about practical tips for making all of our lives a little more “green.”